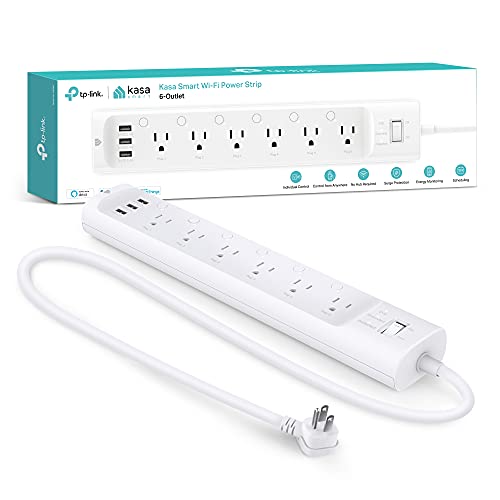
Manage Your Smart Home Easily with Google Assistant
Check Compatibility
Check the product packaging for the ‘Works with Google Assistant’ label. Visit the manufacturer’s website and search for compatibility information regarding smart appliances. Review the specifications and features listed to ensure they support Google Assistant integration. Verify that your existing home setup is compatible with the appliance you intend to purchase.
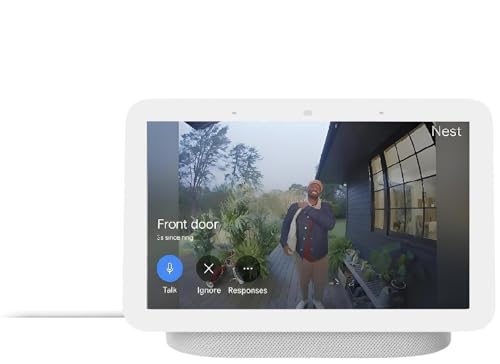
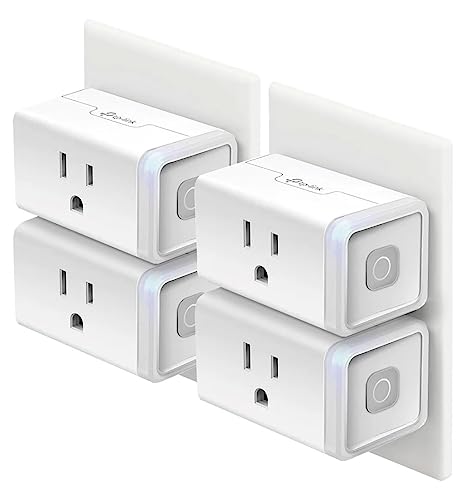
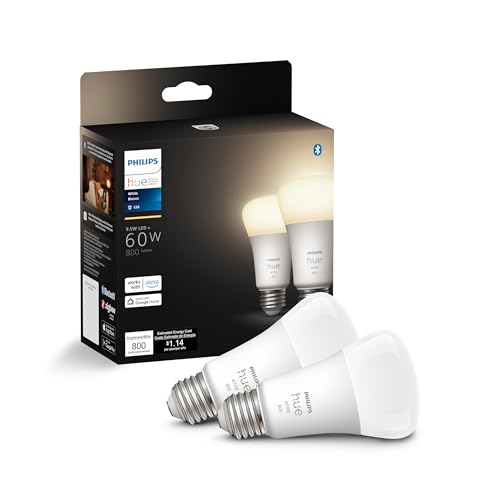
Download Google Home App
Download the Google Home app from either the Google Play Store or Apple App Store if you haven’t already. Search for “Google Home” in the store’s search bar and tap the download or install button. Once the app is installed, open it and sign in with your Google account. Familiarize yourself with the app’s layout; this will allow you to easily set up and manage your smart appliances efficiently.
Connect to Wi-Fi
Ensure your smartphone is connected to the desired Wi-Fi network. Check the Wi-Fi settings on your smartphone and select the correct network from the list. If needed, enter the Wi-Fi password to establish the connection. Verify the connection by looking for the Wi-Fi icon in the notification bar. This guarantees that your smart appliances will communicate effectively with your smartphone while on the same network.
Open Google Home App
Add Smart Appliance
Sign In to Appliance Account
Select your appliance from the available options. Upon selection, the system will prompt you to sign in to the manufacturer’s account, if applicable. Enter your username and password in the required fields to authenticate your identity. Once logged in, follow any additional instructions to successfully link your smart appliance with Google Assistant.
Assign to Room
Assign your linked appliance to a specific room by accessing the device settings in your home automation app. Select the appliance you wish to categorize, then choose the option that allows you to assign it to a room, such as “Living Room” or “Kitchen.” For instance, linking a smart lamp and assigning it to the “Living Room” ensures that when using voice commands, he or she can simply say, “Turn on the Living Room lamp.” This organization simplifies the management of devices, especially when multiple appliances are within the same space.
Test Voice Commands
Final Thoughts and Tips
In conclusion, by implementing the outlined steps, he or she has effectively integrated Google Assistant with their smart appliances. This not only streamlines the control of various devices but also elevates their overall smart home experience. With the power of voice commands at their fingertips, they can enjoy an unparalleled level of convenience and efficiency in their daily routines.
Essential Equipment Checklist
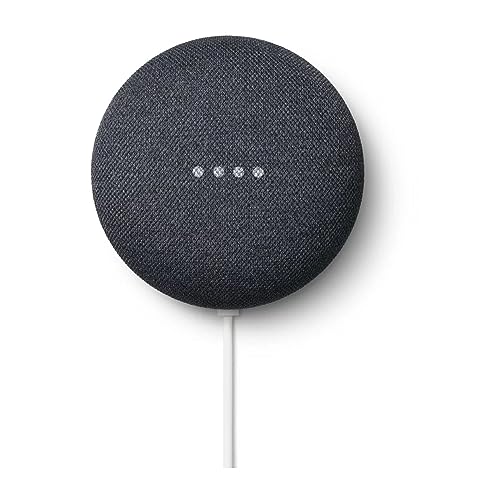
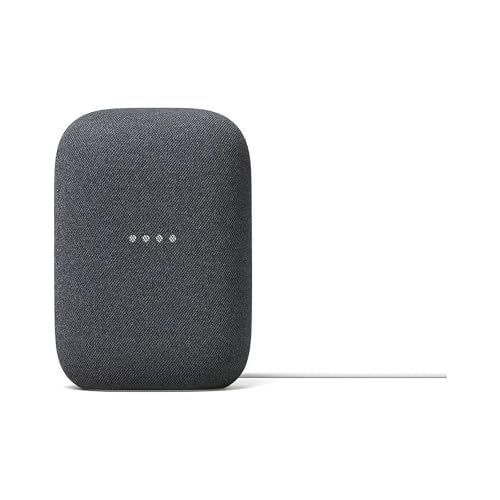
Optimize Your Experience
Step-by-Step Guide to Seamlessly Integrate Your Smart Home Devices
- Choose Compatible Devices: He should start by ensuring that all smart appliances are compatible with a specific voice assistant, such as Amazon Alexa, Google Assistant, or Apple Siri
- Set Up the Voice Assistant: She needs to install the necessary app for the voice assistant on her smartphone or tablet and create an account if she doesn’t have one
- Connect Appliances to Wi-Fi: It is important for them to follow the manufacturer’s instructions to connect each smart appliance to their home Wi-Fi network, ensuring they are powered on and within range of the router
- Add Devices to the Voice Assistant App: He can then use the voice assistant app to search for and add the smart appliances, typically by selecting “add device” and following the prompts to discover and link them
- Create Routines or Groups: She should explore options within the app to create routines or groups for the appliances, allowing her to control multiple devices with a single voice command
Seamless Integration for a Smarter Home
Firmware updates can significantly affect the performance of synced smart appliances in various ways. First, these updates often include bug fixes that can enhance stability and reliability, ensuring that devices operate smoothly and connect consistently to the home network. Second, manufacturers may improve the efficiency of device operations, which can lead to faster response times and smoother performance in tasks like scheduling and automation. Additionally, firmware updates can provide new features, expanding the functionality of the smart appliances and improving user experience. However, there is also the potential for issues; if an update is not correctly implemented or has bugs, it could result in degraded performance or connectivity problems. Overall, regular firmware updates are essential for maintaining optimal performance and security in synced smart appliances.
When it comes to naming smart appliances for voice recognition, several best practices can enhance usability and functionality. These practices include:
- Simplicity: Names should be easy to pronounce and remember. Simple names reduce the chances of misrecognition by voice assistants.
- Uniqueness: Each appliance should have a distinct name to avoid confusion. Avoid using similar-sounding names for different devices.
- Descriptiveness: Names that describe the appliance’s function can be helpful. For instance, using “kitchen light” or “living room thermostat” provides context and makes it clear which device is being addressed.
- Consistent Naming Conventions: Stick to a consistent format for naming across devices. For example, if using a location-based approach, maintain consistency in what locations are used (e.g., “kitchen,” “bedroom”).
- Avoid Special Characters and Numbers: Names that include special characters or numbers may be misinterpreted by voice recognition systems. Keeping names to alphabets only is ideal.
- Limit Length: A shorter name is often more easily recognized than a longer one. Aim for a name with one or two words for optimal clarity.
- Test for Recognition: It’s beneficial to test the chosen names with the voice recognition system to ensure they are recognized accurately and consistently in various speaking conditions.
By following these best practices, individuals can improve the effectiveness and efficiency of voice commands for smart appliances.
To sync smart appliances with a voice assistant, several basic requirements must be met:
- Compatibility: The smart appliance must be compatible with the specific voice assistant, such as Amazon Alexa, Google Assistant, or Apple Siri. This often involves checking if the appliance supports the corresponding ecosystem.
- Wi-Fi Connection: Both the smart appliance and the voice assistant device must be connected to the same Wi-Fi network. A stable internet connection is essential for communication between devices.
- Smartphone App: Most smart appliances require a companion app for initial setup and configuration. Users must download the app, create an account, and follow the on-screen instructions to connect the appliance to their home network.
- Voice Assistant App: Users may also need to install the app for the voice assistant on their smartphone or tablet. This app often includes options to add and manage compatible devices.
- Skill or Action Activation: For some voice assistants, users may need to enable a specific skill (for Alexa) or action (for Google Assistant) within the app to control the appliance via voice commands.
- Firmware Updates: Ensuring that both the smart appliance and the voice assistant devices have the latest firmware and software updates can help prevent connectivity issues.
Meeting these requirements allows users to effectively sync their smart appliances with voice assistants, enabling convenient voice control over their devices.
Yes, it is possible to control appliances from different brands using the same voice assistant, provided that those appliances are compatible with the voice assistant’s ecosystem. Many voice assistants, such as Amazon Alexa, Google Assistant, and Apple Siri, support a wide range of smart home devices from various manufacturers. However, users may need to ensure that the specific appliances are compatible with the voice assistant and may require linking them through the respective apps or smart home hubs.


Leave a Reply