

Installation of Leak Detection Sensor
Identify High-Risk Areas
Identify areas in your home that are prone to leaks by closely examining specific locations. Focus on bathrooms, kitchens, laundry rooms, and the vicinity of water heaters. Inspect areas beneath sinks, behind appliances, and along walls where pipes run. Look for signs of water damage, such as discoloration or mold, which can indicate past leaks or persistent moisture.
Check for leaks at plumbing joints and connections, as these are common weak points. Monitor areas where water is frequently used, such as showerheads, faucets, and toilet bases. Use a flashlight to illuminate dark spaces and take note of any unusual dampness. Implement a regular inspection routine, and document your findings to help track any changes that may signal potential problems.


Inspect Visible Plumbing
Conduct a thorough inspection of visible plumbing fixtures, examining pipes, faucets, and connection points. Start by checking all exposed pipes for any signs of wear or corrosion. Look closely for areas where the metal might appear dull, flaky, or discolored, as these could indicate rusting or potential leaks. Pay particular attention to joint fittings where pipes connect, as these are common failure points.
Inspect faucets and sink drains for any signs of water buildup, which could hint at previous leaks. Observe the area around the faucet bases and under sinks for dampness or stains on cabinetry, as this can signal ongoing issues. If you find dripping from a faucet, note if it occurs intermittently or consistently, as this could affect the fixture’s longevity. Remember to check hose connections for flexibility and integrity, since frayed or cracked hoses may lead to leaks in the future. Taking note of these details can help in identifying risks and planning for maintenance before issues escalate.
Check for Historical Water Damage
Examine the home for any history of water damage. Inspect walls, ceilings, and floors for visible signs that may indicate past leaks or moisture issues. Look for the following clues:
Pay close attention to areas prone to moisture, such as around windows, doors, and plumbing fixtures. Document any findings, as this information can be crucial for future repairs or negotiations.
Consider Environmental Factors
Evaluate environmental factors that may contribute to leaks by assessing the specific conditions in your area. Consider locations known for heavy rainfall or frequent flooding; these regions often have high water tables that can push moisture into basements or crawl spaces. Analyze how snowmelt occurs in your area—if the thaw happens rapidly, it can bring excess water that overwhelms drainage systems. Inspect homes situated in flood-prone zones closely, as these structures may be at a higher risk for water intrusion.
Identify homes with ineffective drainage systems, such as those with gutters that overflow or downspouts that do not direct water far enough from the foundation. Observe the landscaping as well; poorly graded yards can allow water to pool against the foundation, leading to leaks. Monitor natural barriers like trees; roots can disrupt drainage systems or cause cracks in foundations, further exacerbating leak risks. By thoroughly evaluating these factors, homeowners can take proactive measures to mitigate leak risks before issues arise.
Assess Accessibility and Location
Evaluate the chosen areas for sensor installation based on their accessibility. Identify locations that are easy to reach for regular maintenance and monitoring activities. Ensure that these spots allow for quick service without compromising safety. Position the sensors in a way that maximizes their ability to detect leaks early, placing them near potential risk areas while maintaining convenient access.
Consider both the physical environment and the infrastructure in place. Look for locations with clear paths for technicians and minimal obstruction. Prioritize areas that can facilitate swift response times in case of an alert. Confirm that the sensors are not just reachable, but also strategically placed to provide effective coverage and early leak detection.
Consult Professionals if Needed
Consult a plumbing professional if you are uncertain about where to place sensors or require additional information. Seek out a qualified expert who specializes in plumbing systems, as they can offer valuable insights tailored to your specific situation. Ask questions regarding sensor placement, recognizing that an effectively positioned sensor can significantly enhance the performance of your plumbing system.
Schedule an appointment to discuss your needs and concerns. Prepare a list of questions beforehand, emphasizing the areas where you feel unsure. Take notes during the consultation to capture their recommendations and insights. Consider asking for a site visit, as this will allow the professional to evaluate your plumbing setup and provide specific guidance on sensor placement for optimal results.
Summarizing Key Considerations
In conclusion, by diligently assessing vulnerable areas for water leak sensor installation, homeowners can significantly reduce the risk of water damage. Proactive steps not only protect valuable property but also provide essential peace of mind. Investing time in this evaluation process is a smart move that can lead to substantial savings and enhanced safety in the long run.
Essential Supplies Needed


Strategic Installation Insights
Strategic Sensor Placement for Maximum Leak Detection
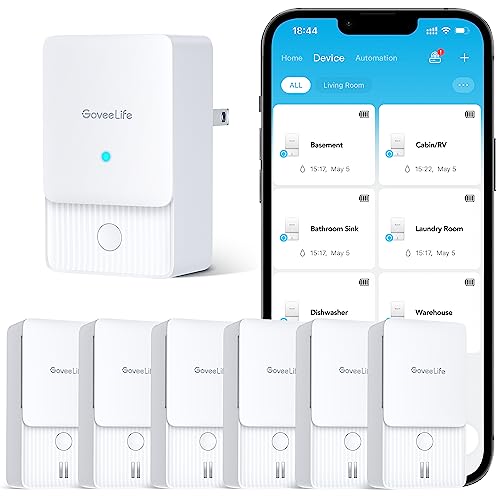
- Identify Vulnerable Areas: They should start by identifying areas in their home that are prone to leaks, such as under sinks, behind toilets, near water heaters, and in basements or utility rooms
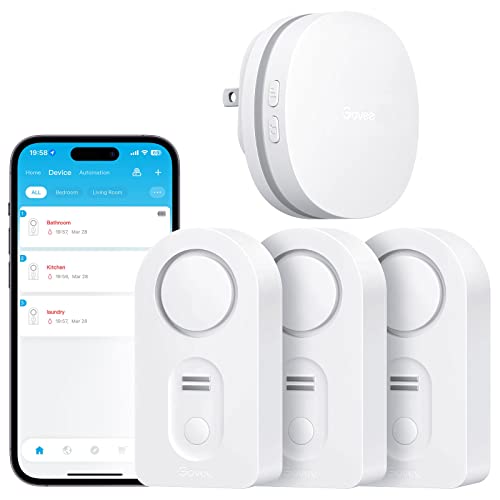
- Choose the Right Sensors: It is important for them to select water leak sensors that suit their needs. Some sensors may have different features such as Wi-Fi connectivity, mobile alerts, or built-in alarms
- Position the Sensors Correctly: They should place the sensors close to potential leak sources, ensuring they are on a flat, dry surface where water is likely to accumulate. It’s advisable to keep them off the floor by a few inches to avoid false alarms from minor spills
- Test the Sensors: Once installed, they should test each sensor to confirm that it operates correctly and notifies them as intended when it comes into contact with water
- Regular Maintenance Check: They need to routinely check the sensors for functionality, battery life, and to ensure there is no debris blocking them, keeping their home safe from potential water damage
Optimal Locations for Maximum Detection
He should check or maintain water leak sensors at least once a month to ensure they are functioning correctly. Regular testing will help identify any malfunctions or issues with the sensors. Additionally, it is advisable to inspect them after significant weather events, such as heavy rain, or whenever there are changes in the plumbing system. Following the manufacturer’s recommendations for specific maintenance guidelines can also ensure optimal operation.
Yes, placing water leak sensors in areas prone to humidity or condensation, such as bathrooms, is advisable. Humidity can increase the risk of leaks from plumbing fixtures, and condensation can lead to water buildup. By installing sensors in these areas, one can receive early warnings about water leaks, helping to prevent potential damage and mold growth. It is a proactive measure that can save time and reduce repair costs in the long run.
He should place water leak sensors on the floor rather than at a higher level. This is because water typically flows and collects at the lowest point in an area. By positioning the sensors on the floor, they will be more effective at detecting any leaks or water accumulation promptly, allowing for quicker response and potential damage prevention.


Leave a Reply